A catfish is a type of fish. When it comes to nutrition, most parent would prefer to feed their kids something that contains omega-3s and some type of protein. And they’d like to do so without having to chase them through the kitchen.
Nutritionally, catfish isn’t a bad option. It’s a mild white fish. Kids generaly find it easy on their palate.
Easy Steps for Baking Kid Friendly Catfish
Why Catfish Nuggets Work for Kids
The problem is the presentation. A whole fillet of catfish can be intimidating. It is too big.
It is too unfamiliar. Its consistency is to weird. It feels to much like fish.
The answer is to slice the fish into bite-size pieces. This turns the fillet into something called nuggets. To the child’s eyes this make the fish more familiar.
More like what? Finger food. Something they know is going to get picked up and put in their mouths.
It is easy to bake catfish nugget. No need for a deep fryer. It use less oil.
It makes less mess. No waiting for the oil to heat up to temperature. Baking allow for better control of the texture.
Baking makes them just as nutritious. Doesn’t take away the crunch factor that kids seek. Some prep time…but something about it makes it feel like a treat.
Why? Because it aligns with a kid’s appetite. Also because it aligns with parents’ desires for a healthy meal.
You’re not sneaking veggies into a smoothie. Instead, you’re showing a lean white fish in a form that will appeal to nugget fans. For the fish, the best way to go is fresh catfish fillet.
Preparing the Fish and Checking for Bones
If frozen, thaw correctly. Be sure that there are no pin bones remaining. A trick with catfish, they’re bottom feeders and it’s not uncommon to find little bones hidden in the flesh of the fillet.
Gently run your finger tips across the fillet. Any sharp points should of been pulled out with tweezers. For the kids, this is crucial.
That one nasty bone will break the trust. Cut the fillet into bite sized pieces. Try to get them around an inch and a half on each side.
They’ll cook evenly. Small hands can easily manage these piece. Make ’em all about the same size so that they’ll cook equally.
Choosing Breadcrumbs and Breading Coating
Breadings has character. Without them, there is nothing. Dry out traditional flour-egg wash?
No thanks! Use enough oil so that doesn’t happen. To bake, you want something more reliable than flour & eggs.
Try panko breadcrumbs. What’s panko? It’s a Japanese style.
Why panko? Because it’s lighter and crispier. Less dense.
Larger flakes. Results: A crisp crust. Crust = Good.
Holds up well in oven. Doesn’t get soggy. Combine panko w/ paprika + dried parsley.
It adds flavor and color. If your kids will allow: add some garlic powder. Smell matter.
Not medicinal. How you coat it’s just as important as what you use to coat it. You need something that holds the panko in place.
Coating Technique with Buttermilk
Use an egg wash. Try it. Buttermilk is better.
It tenderizes the fish a little. It makes its surface sticky so the crumbs stick. Take your catfish chunks and dip them in buttermilk.
Allow the extra buttermilk to drip off. Pack them tightly into the panko mixture. No wussy business here.
Push the crumbs onto the fish. Get a nice, even layer of the thick crumb coating. Too thin will burn before the fish cooks.
Too thick may come off when cooking. Think hearty golden brown crust. It looks inviting on the plate.
Baking Instructions and Oven Temperature
You need the proper tools, and you must be patient. Get yourself a wire cooling rack, place it on top of a baking sheet lined with a silicone mat or parchment paper. Heat up your oven to 400 degrees Fahrenheit.
Melt some olive oil or butter and brush it over your nuggets before placing them in the oven. Why? So they brown.
This makes them rich in a way that baking alone cannot. Put the nuggets into the oven for about 12 to 15 minutes. Give them a flip halfway through.
You’ll know they’re ready when the interior hits 145 degrees and their exteriors becomes golden brown. The food’s better when you serve it up with a suggestion. Dips is kid-friendly.
Serving Suggestions and Side Dishes
Go classic: creamy tartar sauce. Lemon juice + mayo + dill + pinch of sugar = yum. For a lighter dip, try an herb yogurt variety.
It is tangy and cool, and it cuts right through that rich coating. Pair with colorful side dishes. Steamed broccoli or roasted carrots will look good to kids.
Balance out the nutrition. A bright-colored dish makes the plate feel fun. It looks like less of a lecture on healthy eating.
How food tastes is only half the story. So is how it looks. And this helps convince those picky eater.
Flavor Variations and Seasoning Ideas
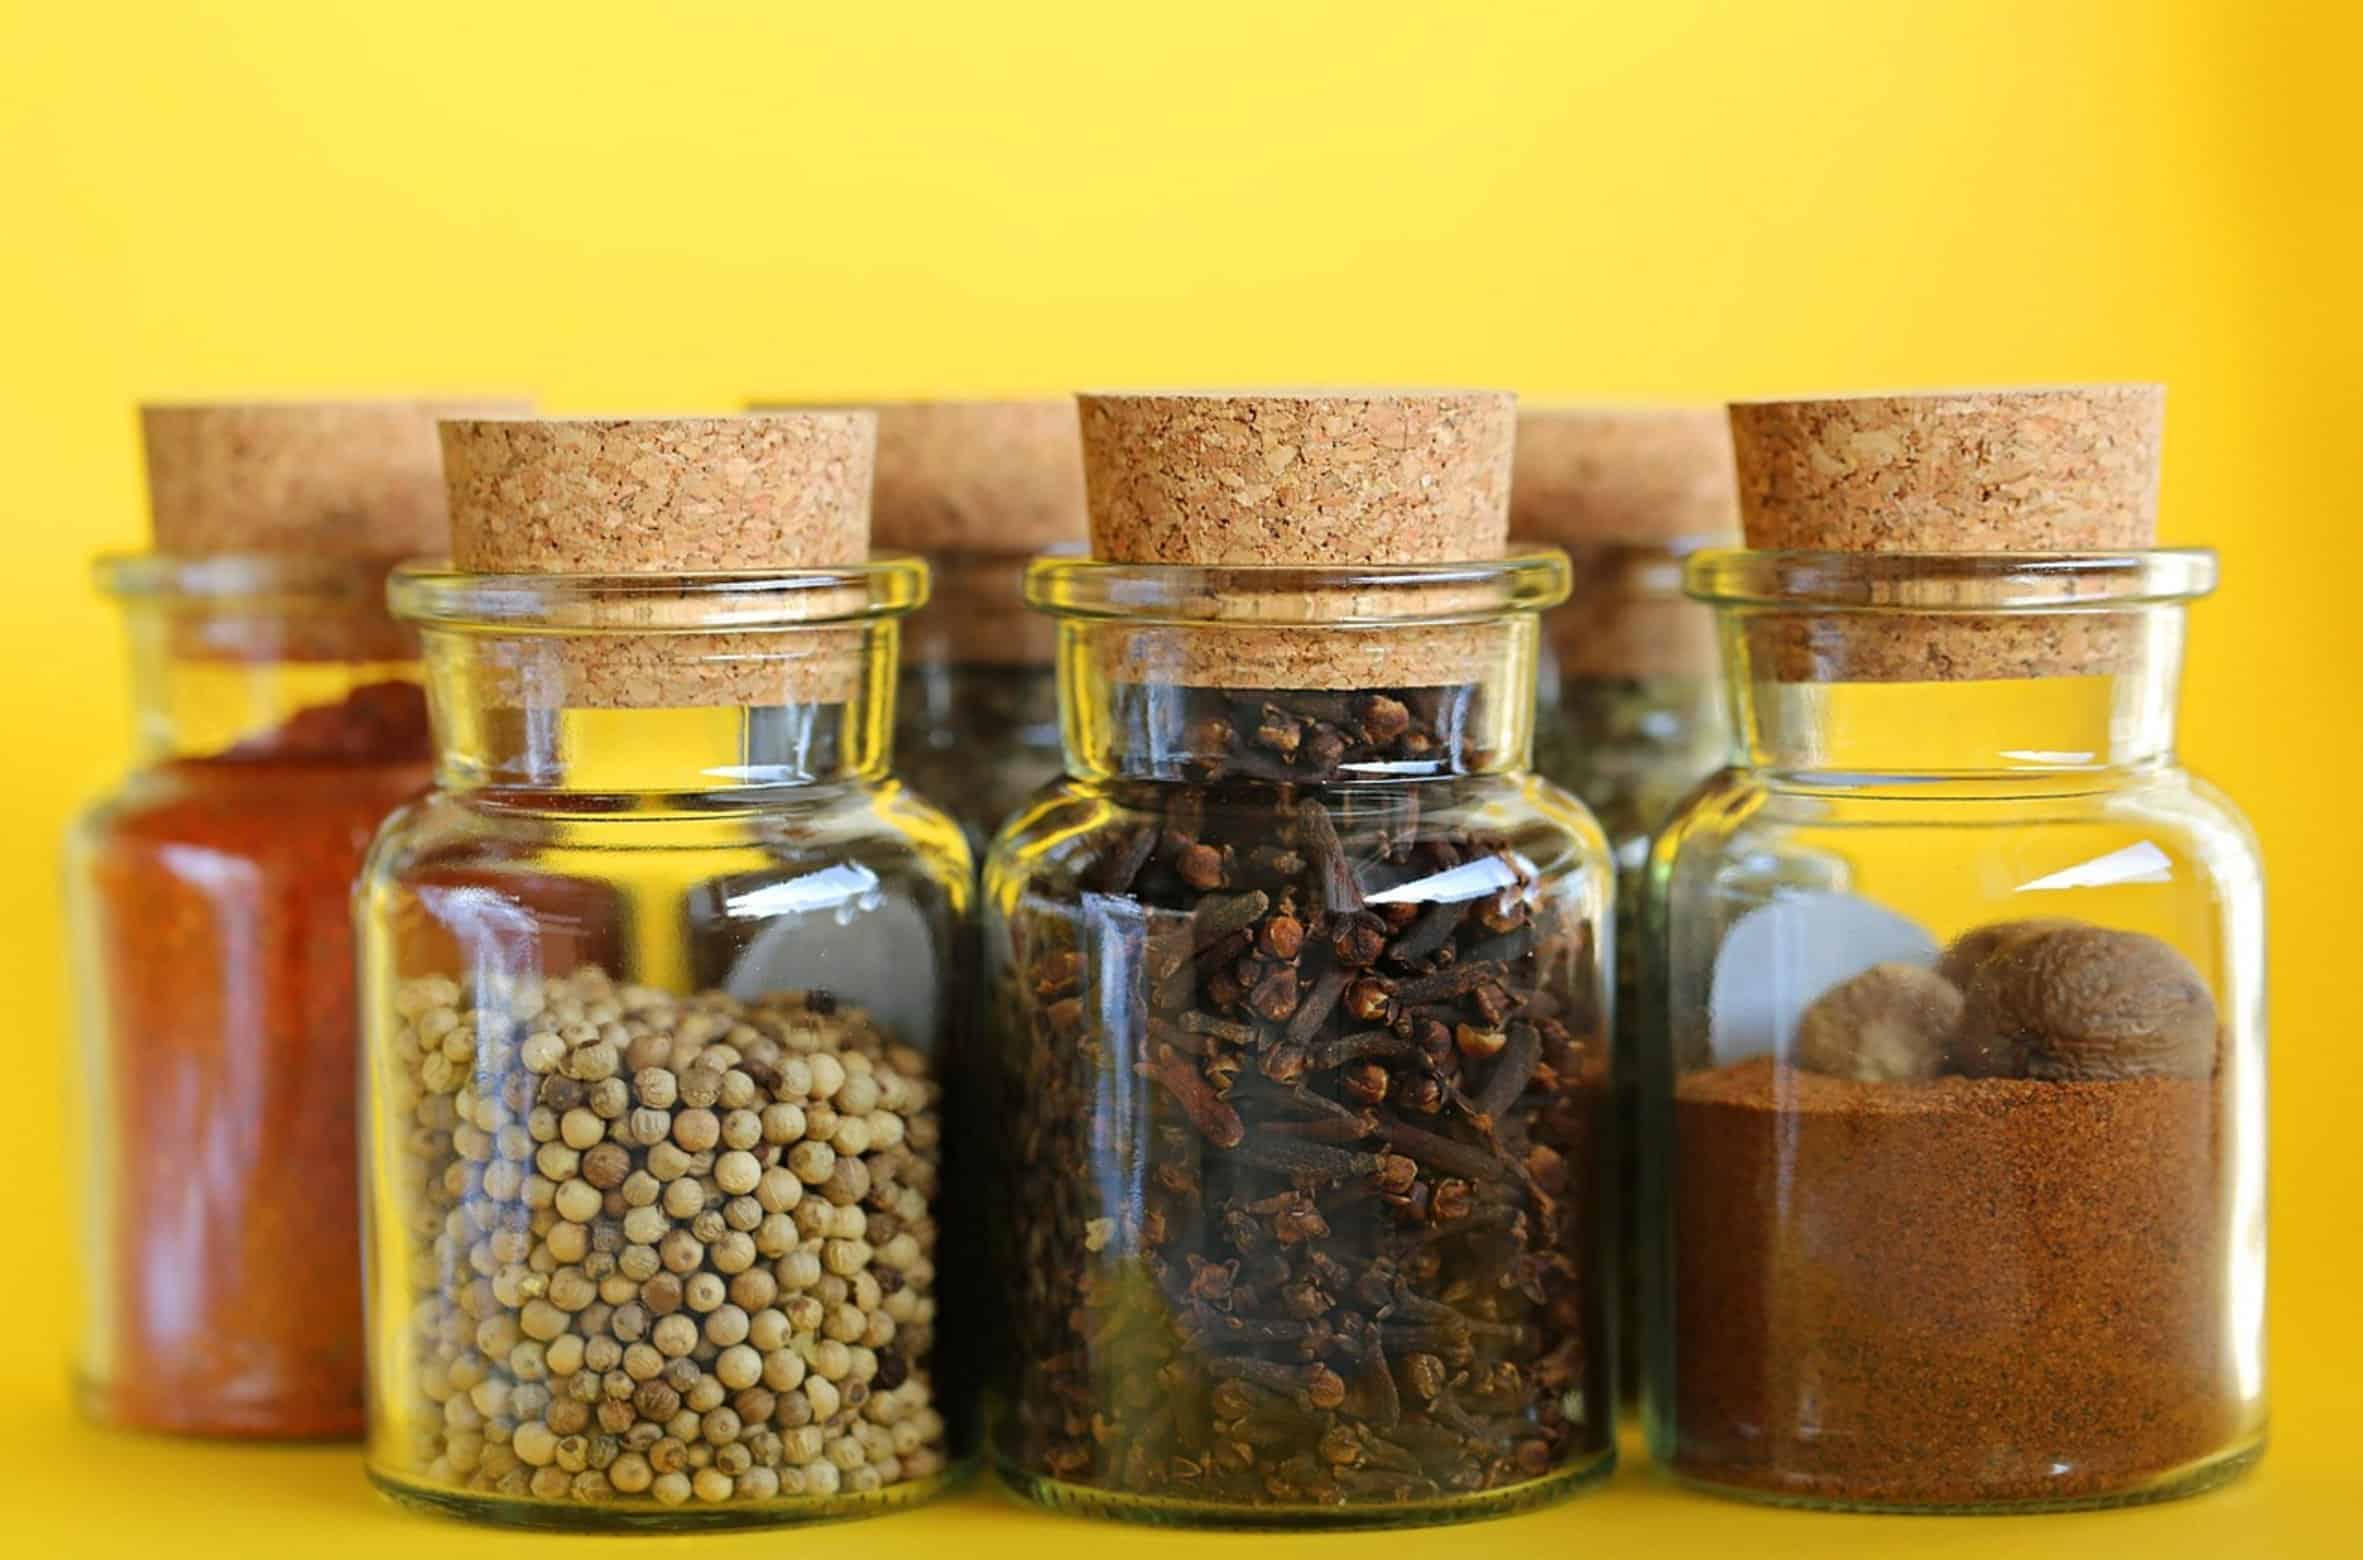
The beauty of this recipe lie in how it can be used in many ways. Season it to suit your family’s tastes. Want something more coastal?
Throw some Old Bay seasoning on there. Looking for a little kick? Toss some grated Parmesan cheese into those breadcrumbs.
The basic method remains constant, but you can vary the flavor profile nightly. Keep the meals interesting. Don’t bore the kiddos by serving up another healthy dinner.
Teach them how much fun fish can be. Show them that it doesn’t have to taste like an awful school lunch tray. This lowers the barrier to entry.
It takes away the fear of the unknown. It takes away the texture of a whole fillet and replaces it with something familiar. It is a nugget.
It is a small change in form. It is a big shift in acceptance. It is a tasty snack for your kids.
It is a low-stress dinner for you. A cleaner kitchen. You will do less work in the kitchen.
The oven does the heavy lifting. Everybody goes home happy. That’s the real victory in the house.
It is not just that you feed them, but that they go willingly and eat what is good for them. Start with the breading. End with a clean plate.